Student Guide: Taking a Proctored Exam via Proctortrack Plugin
This guide outlines how to set up the Proctortrack Plugin, verify your identity, and submit your exam successfully.
1. Log In and Select Your Exam
Before beginning, ensure you are in a private testing area.
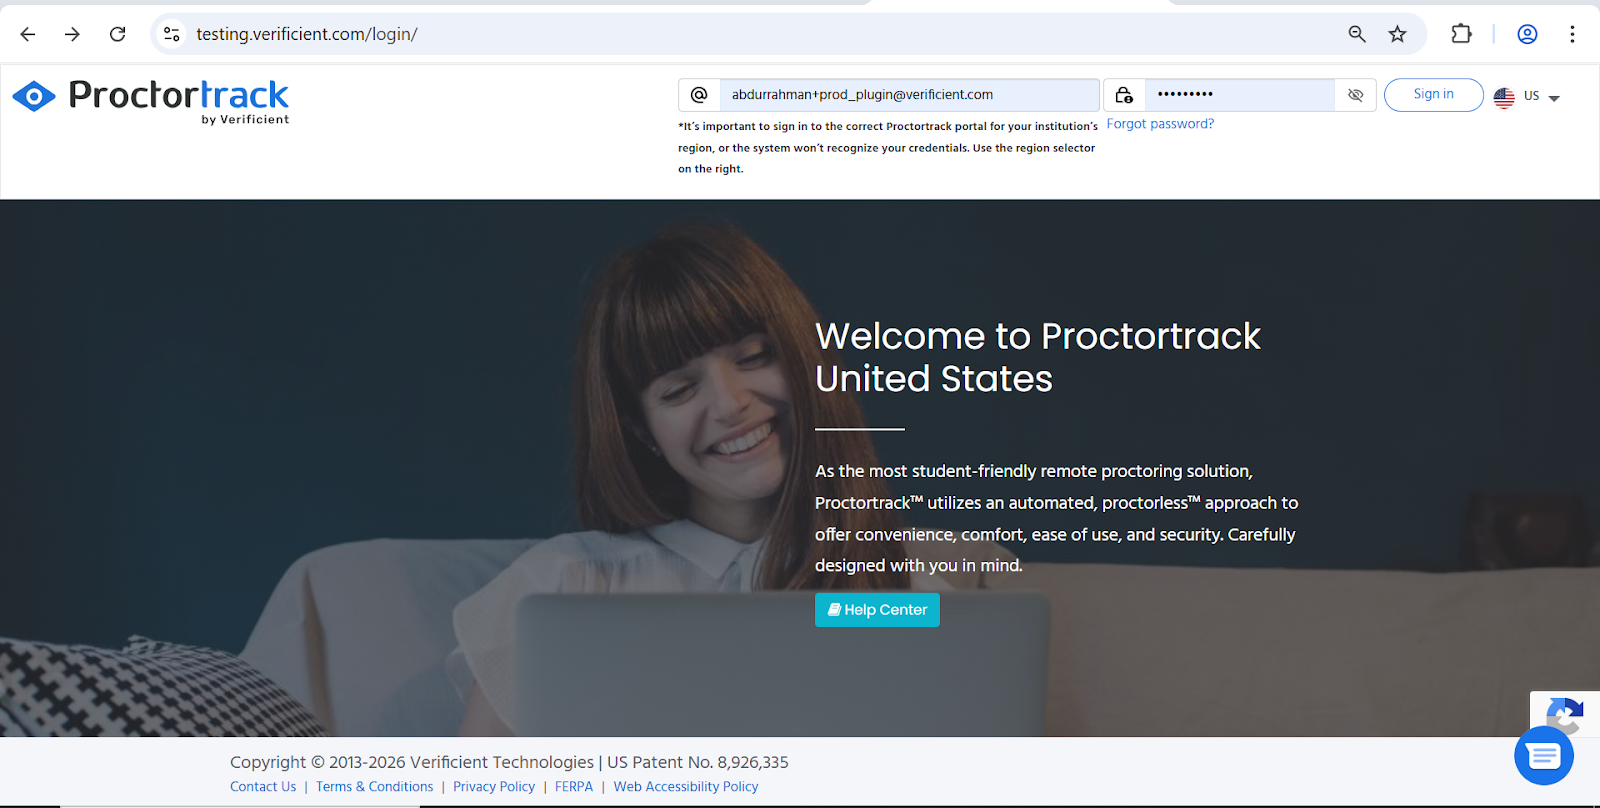
Log in to the testing platform using your student credentials.
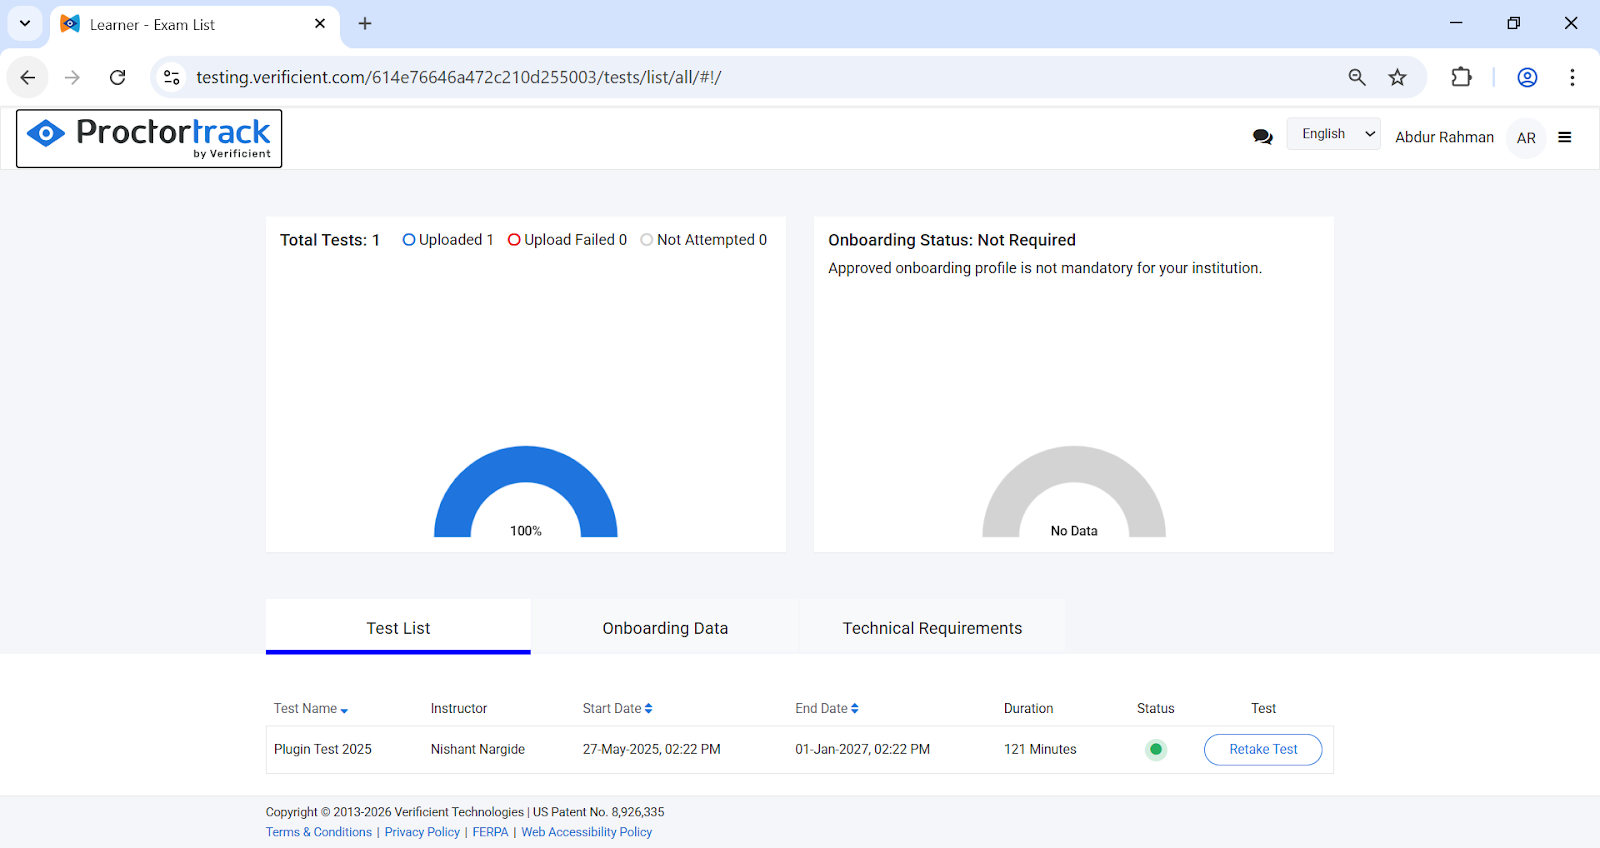
On your Dashboard, locate your exam under the Test List tab.
Click the Go To Test or Retake Test button next to your listed exam.
2. Install the Proctortrack Plugin
The system will automatically check if the required plugin is installed. If it is not detected, follow these steps:
Click Download Proctortrack Chrome Plugin. You will be redirected to the Chrome Web Store.

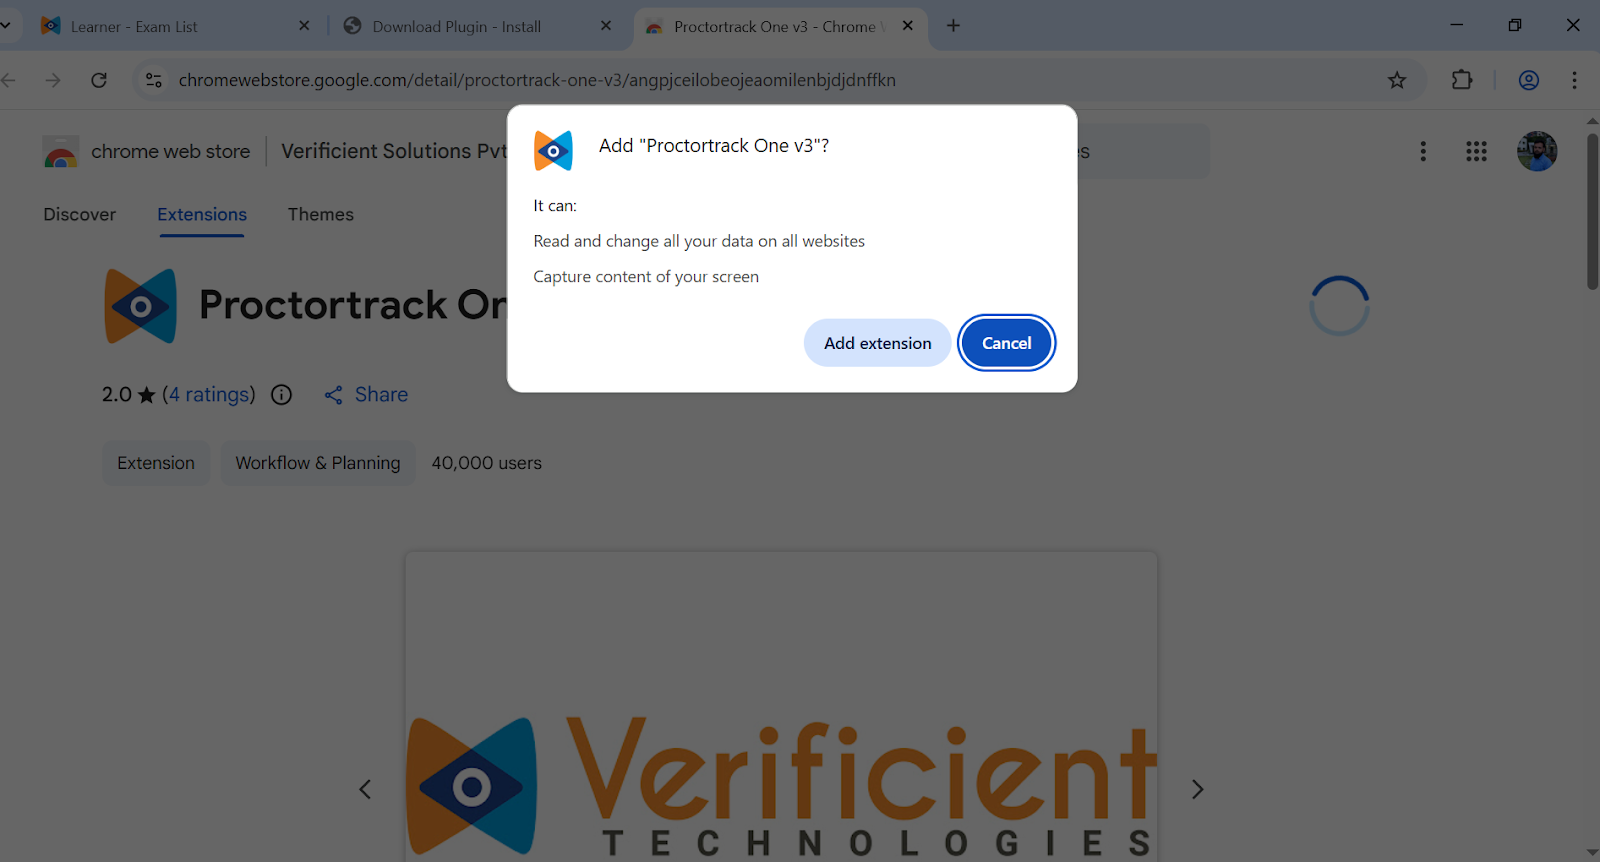
Click Add to Chrome.
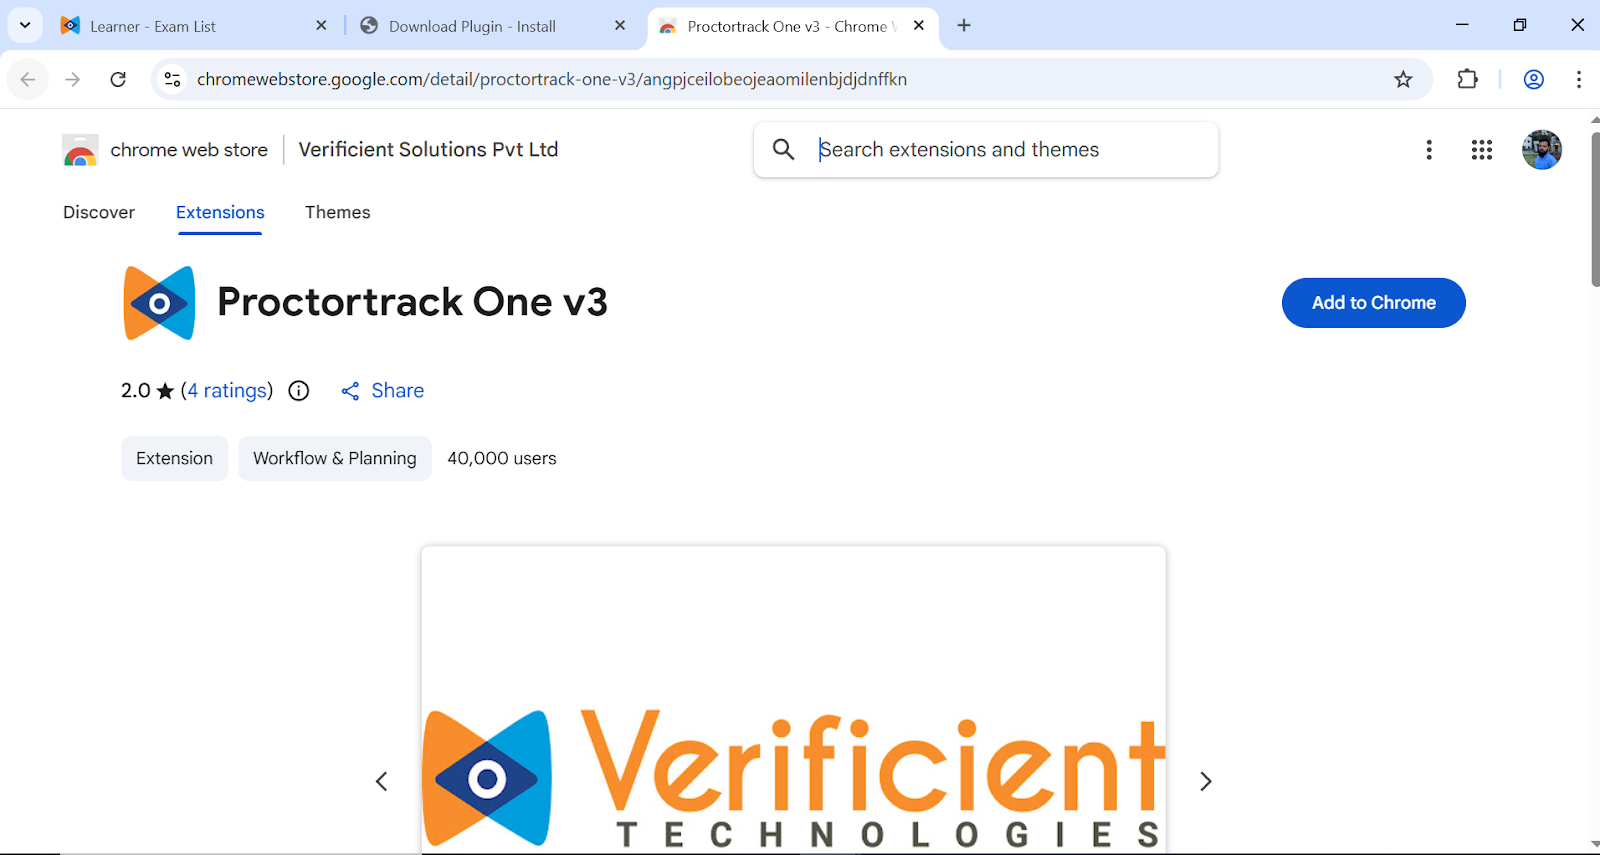
When the browser pop-up appears, select Add extension to confirm.
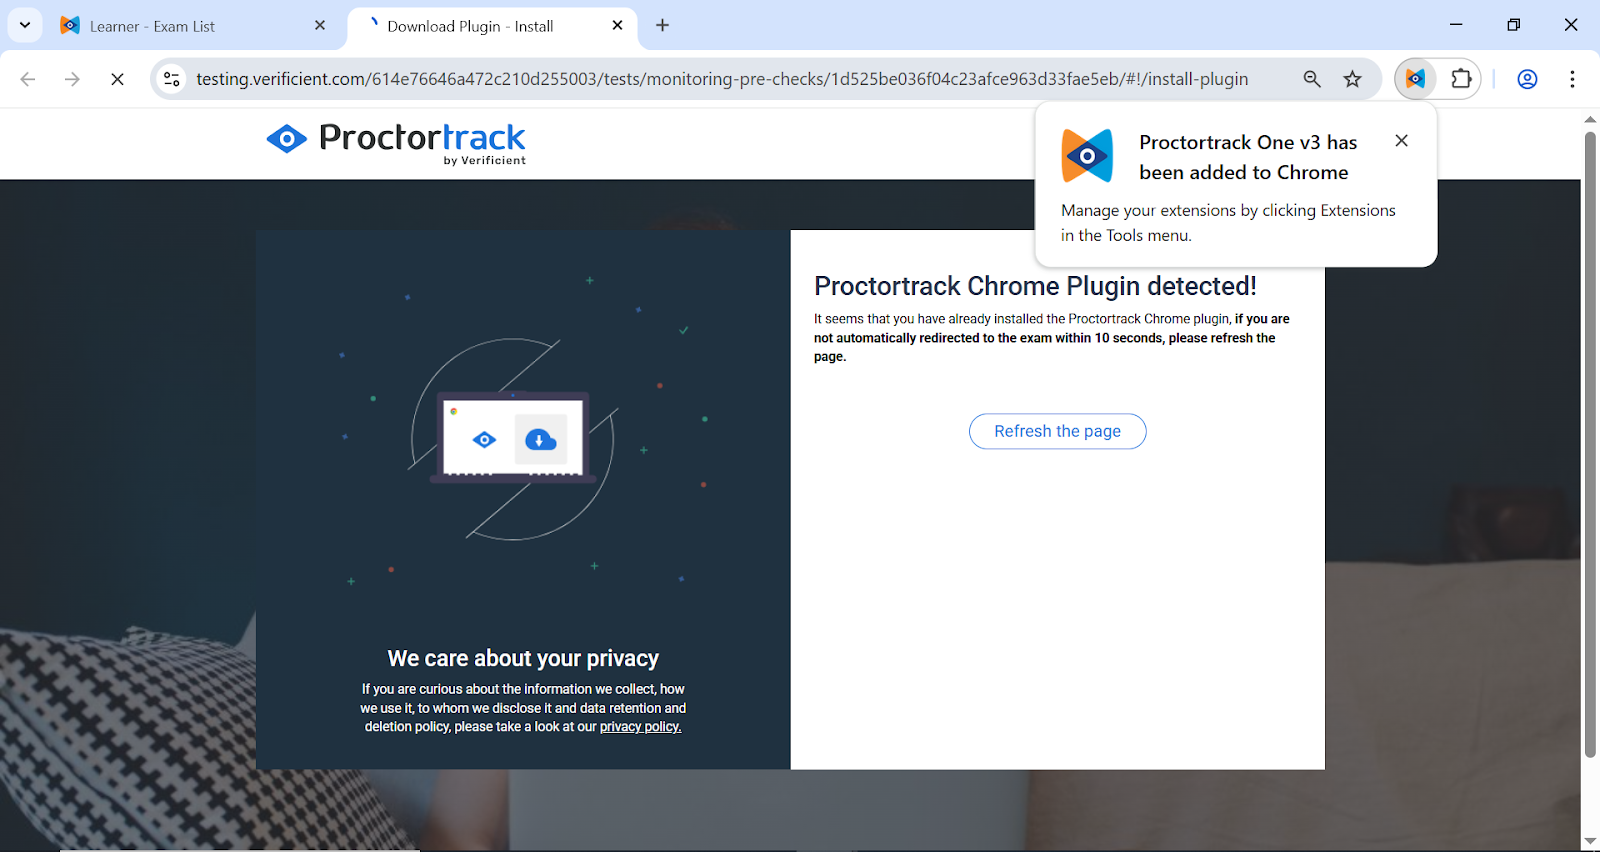
Once installed, the exam page will automatically refresh. If it does not, click Refresh the page.
3. System Check and Onboarding
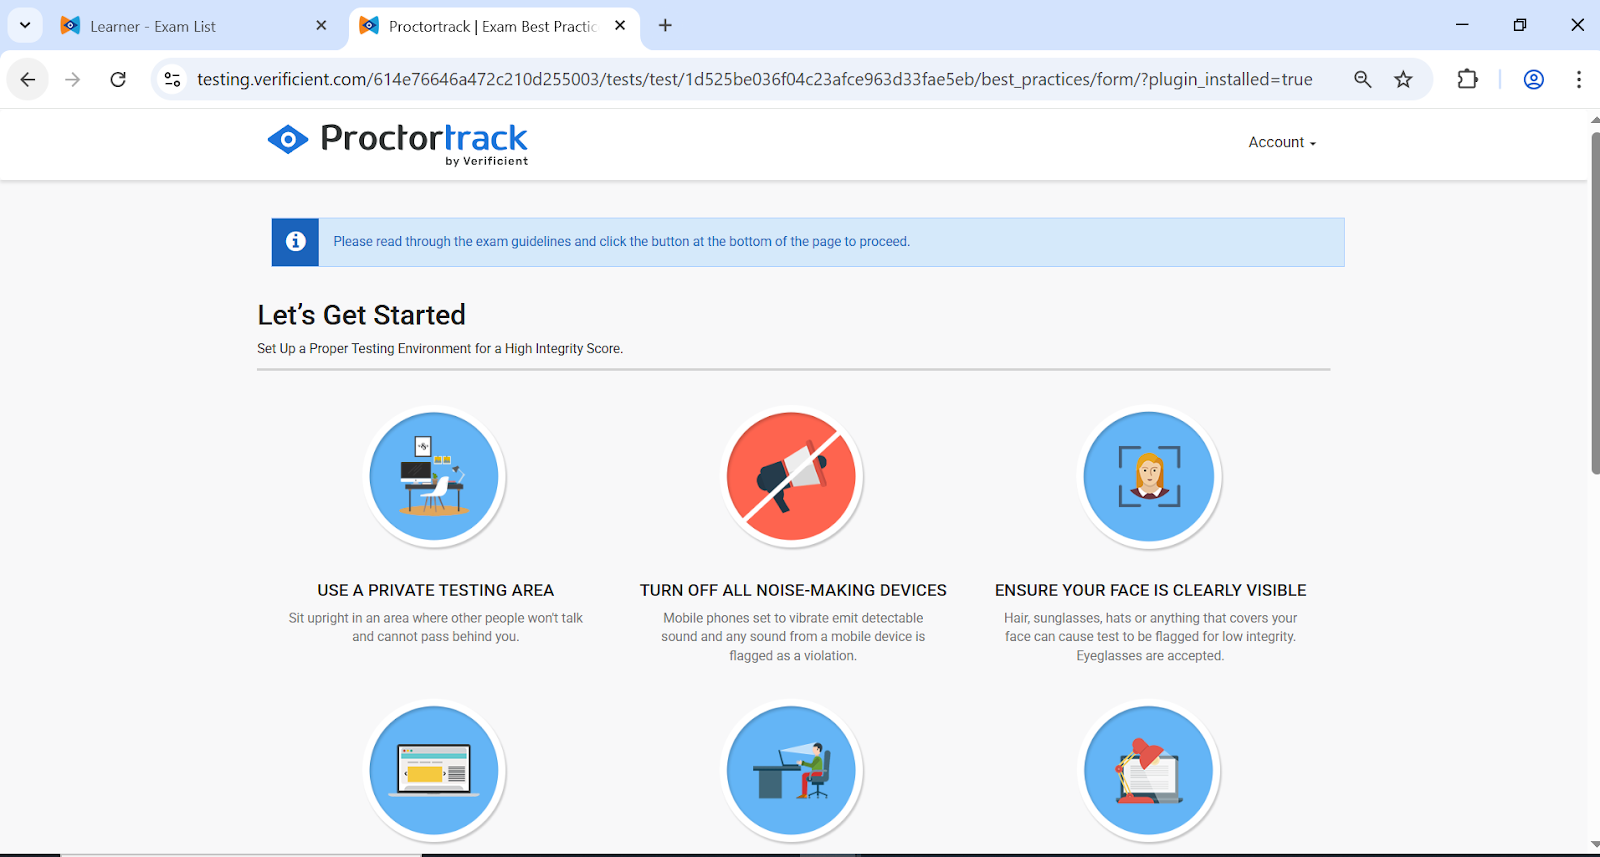
Once the plugin is active, you will be guided through the pre-flight checks.
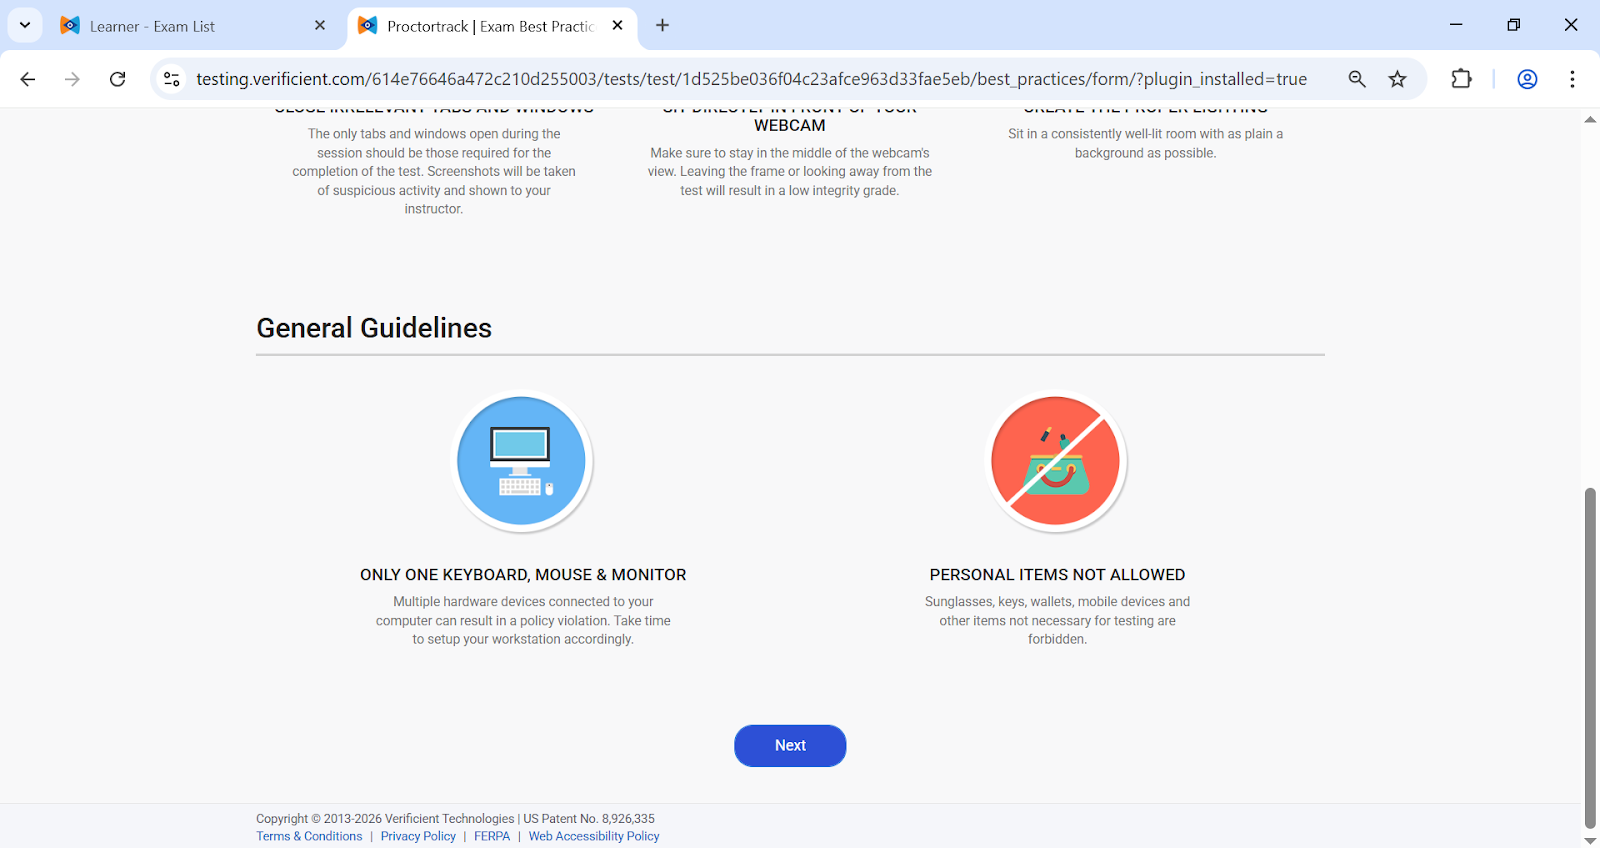
Review Guidelines: Read the "Let's Get Started" screen. Ensure your face is visible, audio devices are off, and you are using a single monitor. Click Next.
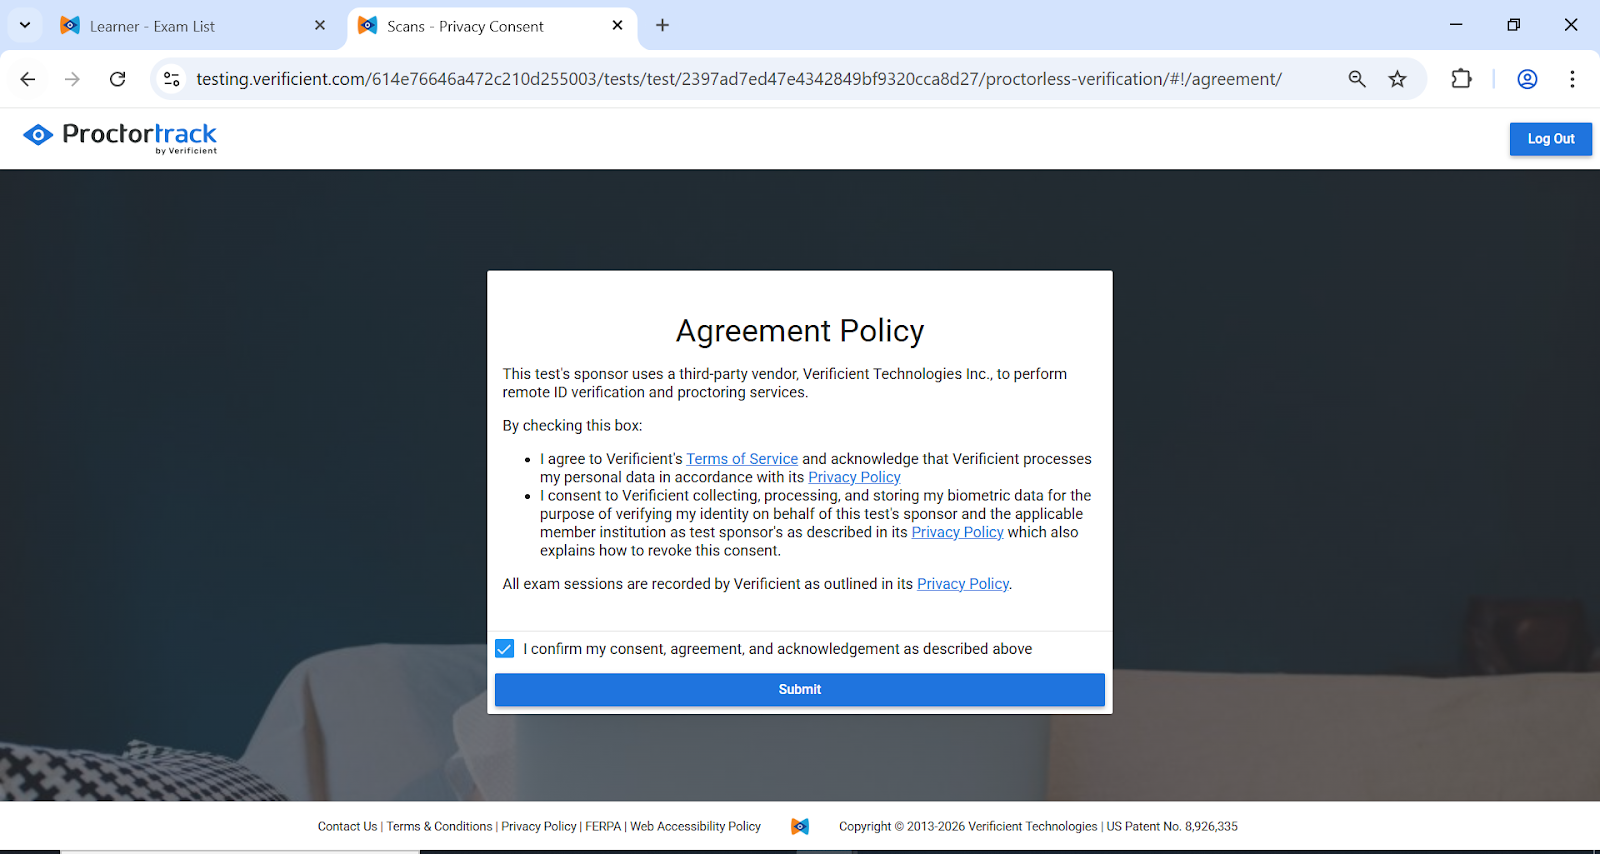
Agreement Policy: Review the privacy and terms of service. Check the box to confirm your consent and click Submit.
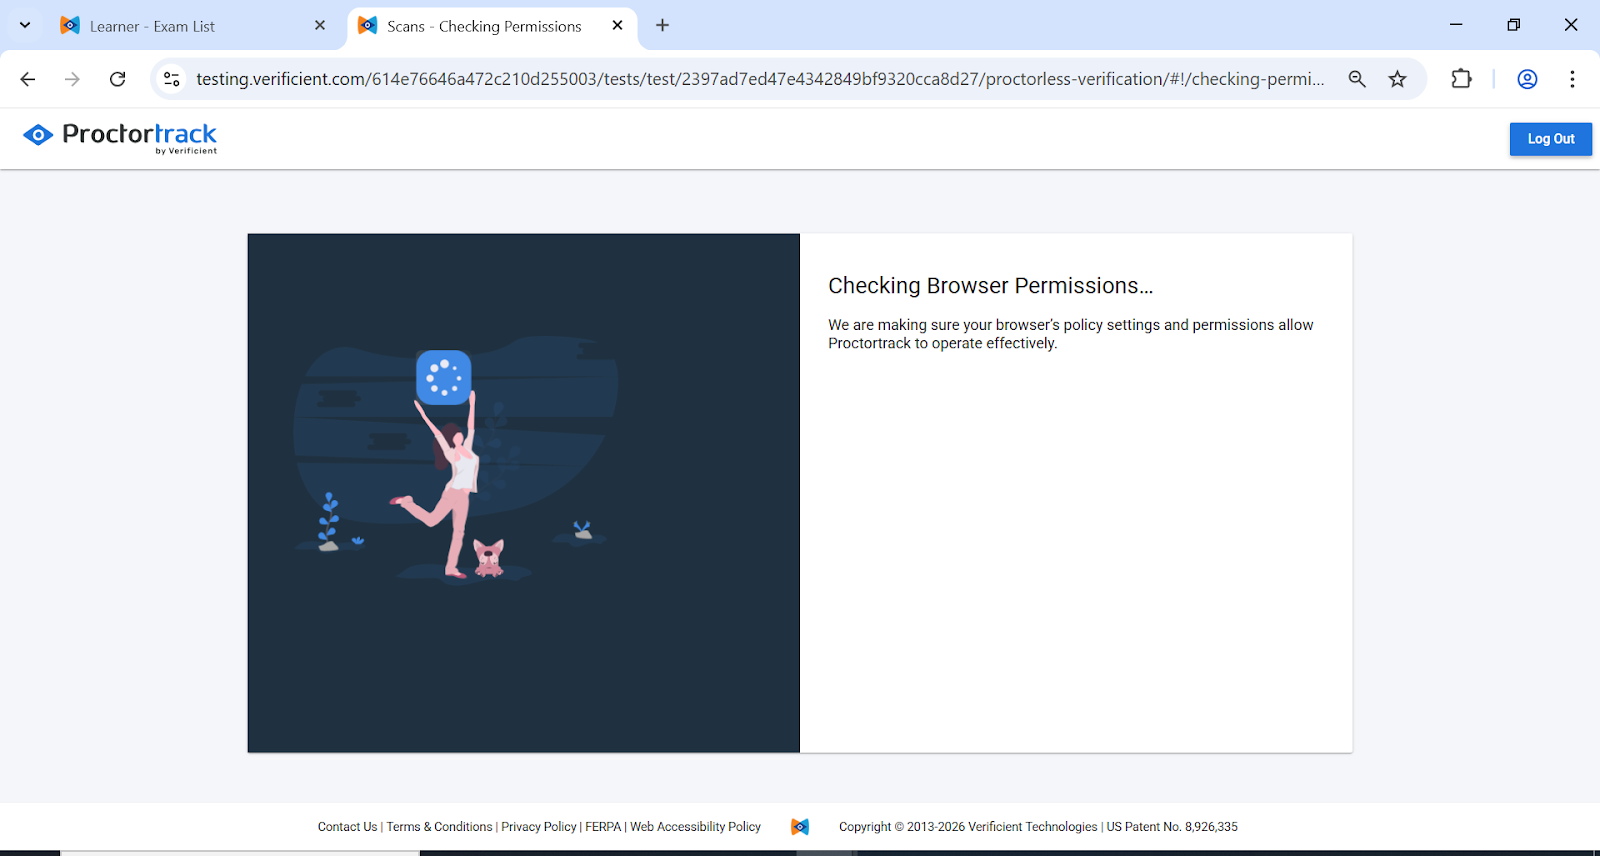
Permissions: The browser will request access to your camera and microphone. Click Allow if prompted.
4. Identity Verification
You must verify your identity before the exam begins.
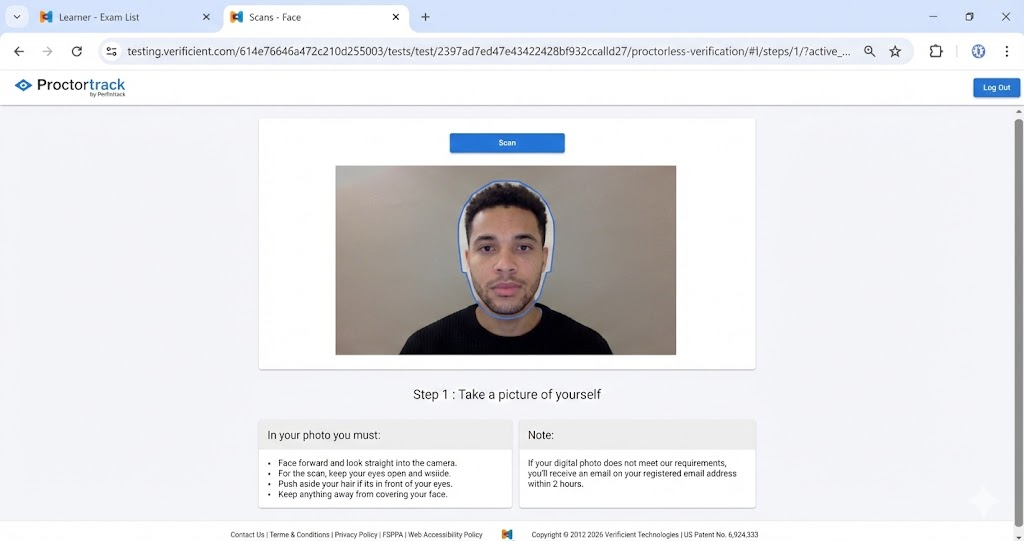
Face Scan
Position your face inside the frame. Look straight at the camera and ensure your eyes are open.
Click Scan.
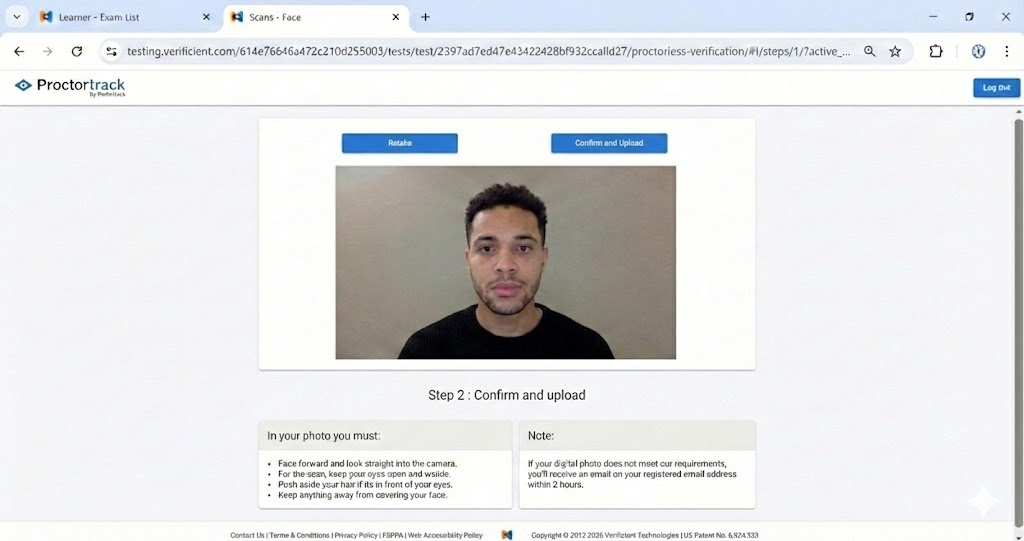
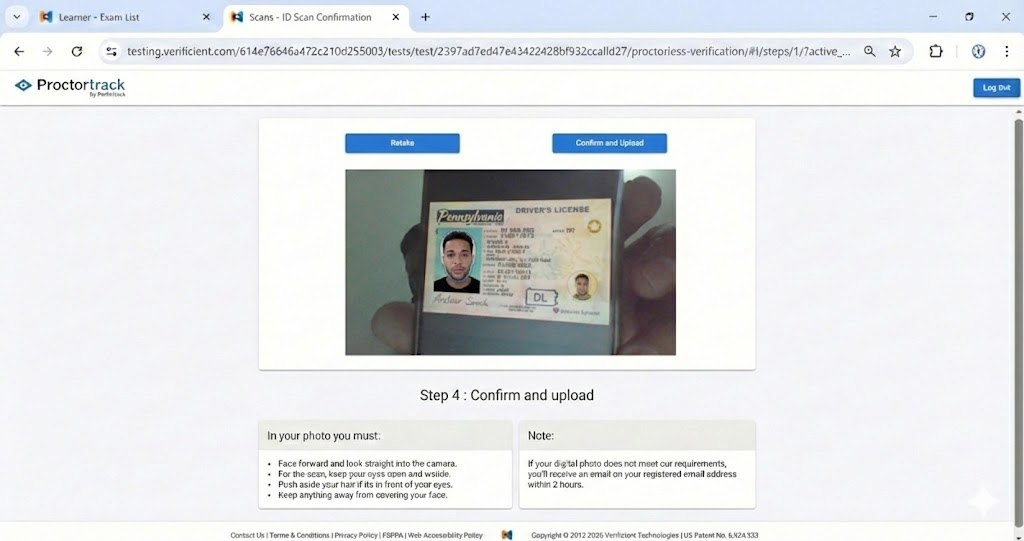
Review the image. If it is clear, click Confirm and upload.
ID Scan
Hold your valid Student ID or Government ID in front of the camera.
Align the ID horizontally or vertically within the frame.
Click Scan. Ensure the text on the ID is legible and not obscured by glare.
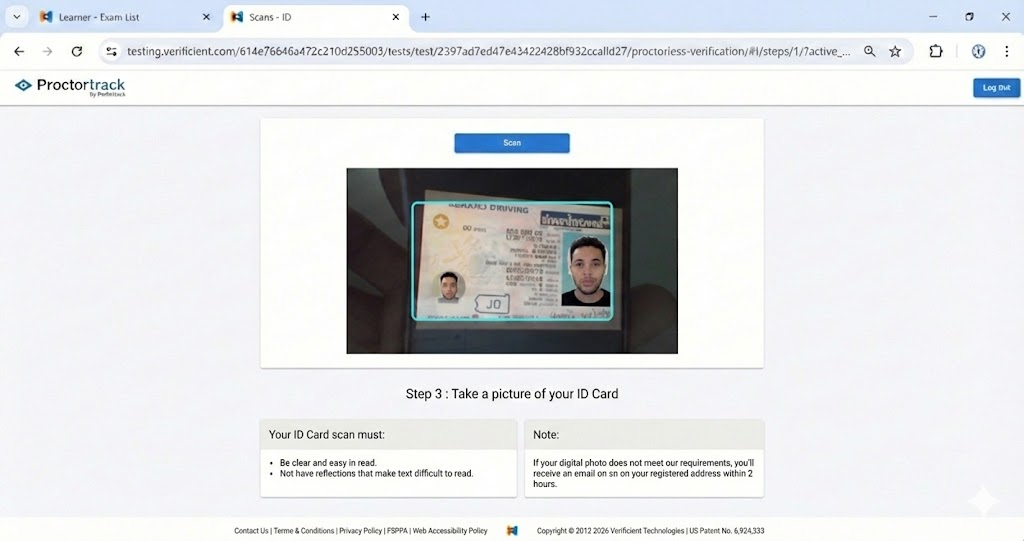
Click Confirm and upload.
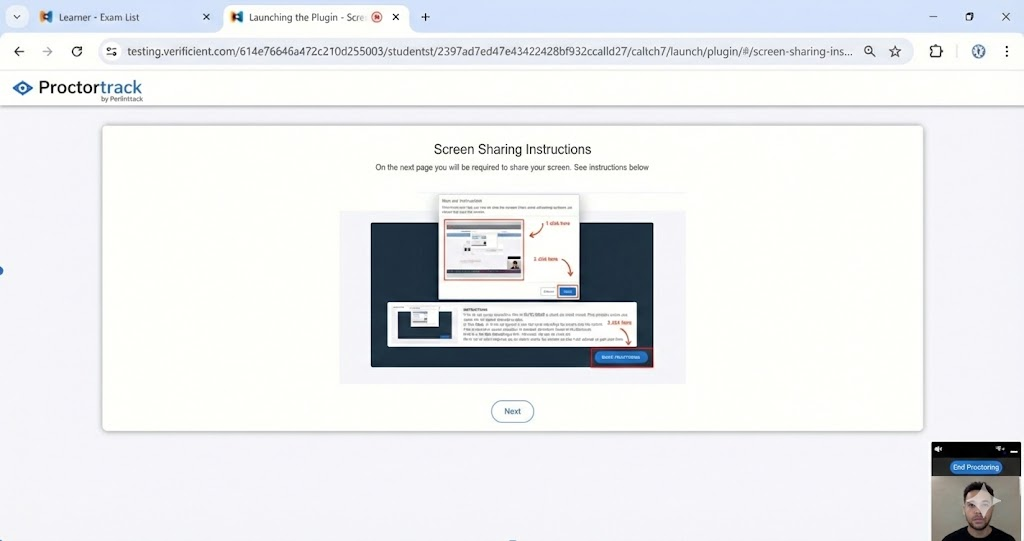
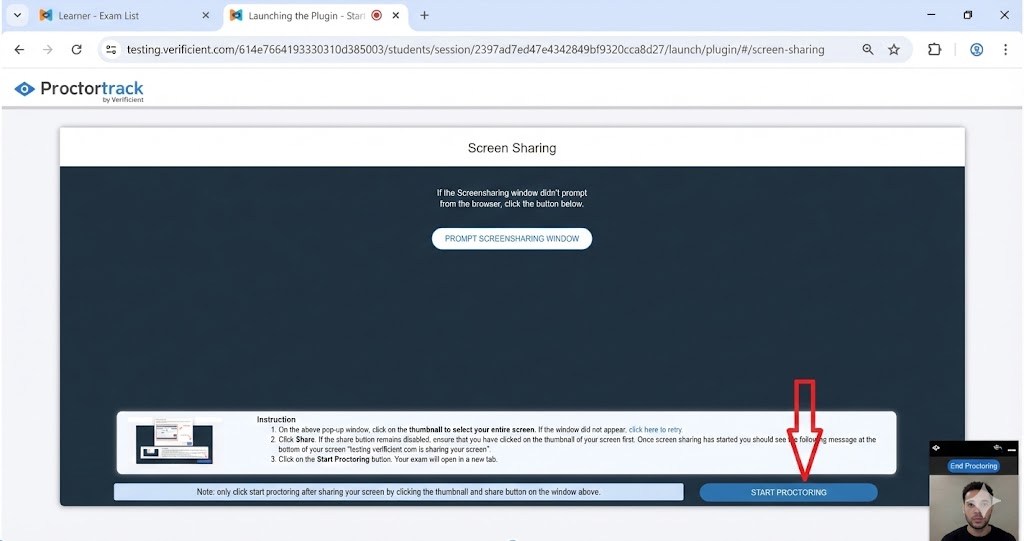
5. Screen Sharing and Starting the Exam
Proctortrack requires screen access to proctor the session.
A "Share your screen" window will appear.
Important: You must click the Entire Screen tab (or the thumbnail image of your screen) to select it first.
Click Share.
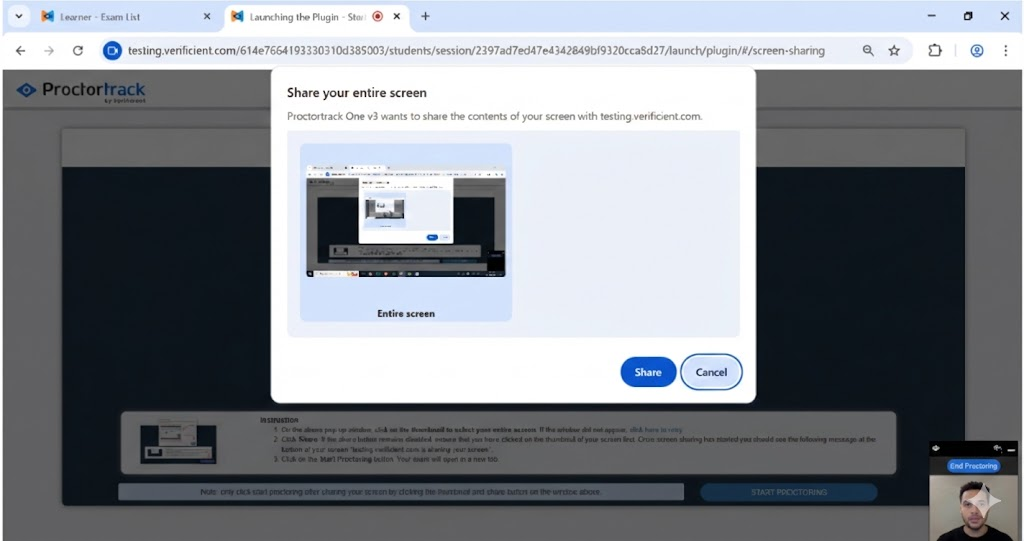
Once screen sharing is active, the exam setup is complete. Click Start Proctoring to open your exam.
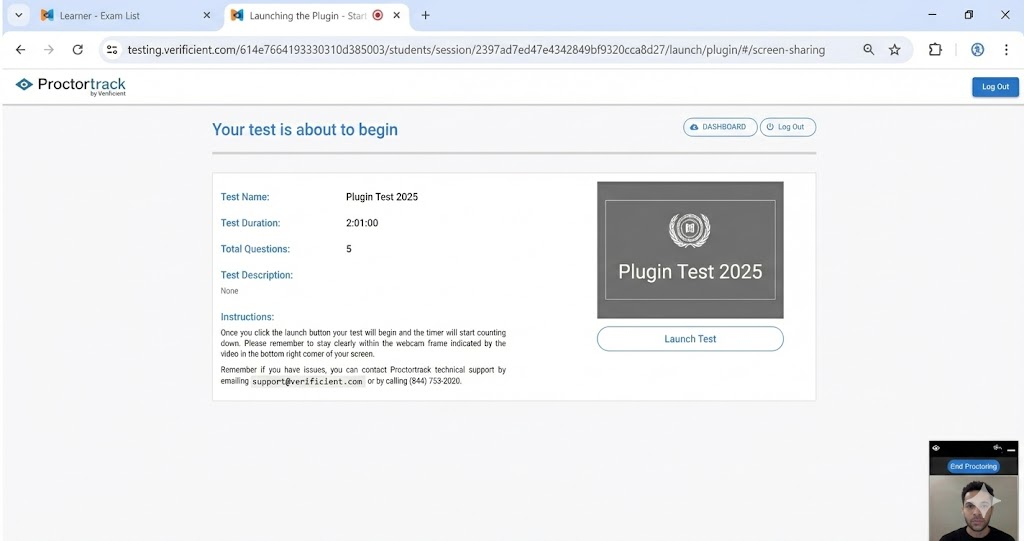
6. During the Exam
Video Feed: You will see a small video window of yourself in the bottom right corner. This confirms you are being recorded. You may minimize this window if it distracts you.
Completing the Test: Proceed through your exam questions as normal.
Submitting: When finished, click the Submit button on the exam interface.

7. Ending the Session and Uploading Data
Critical Step: Do not close your browser immediately after submitting the test.
Click the End Proctoring button located at the top of the video feed overlay window.

A confirmation pop-up will appear. Click End Proctoring again to confirm.

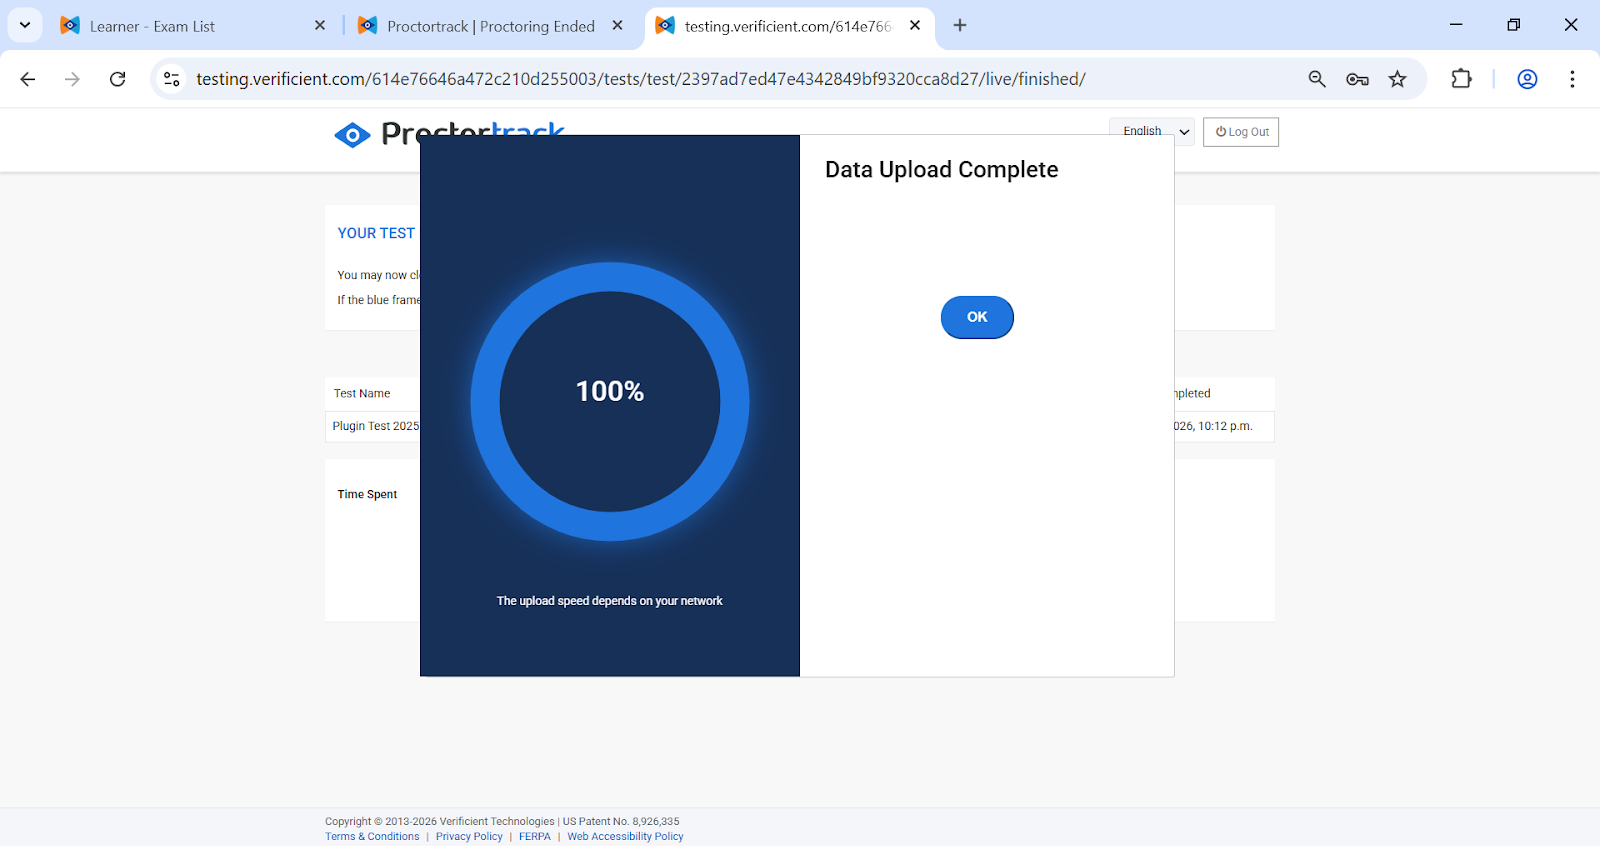
Wait for Upload: The Proctortrack app will begin uploading your session data.
Do not close the tab or quit the browser.
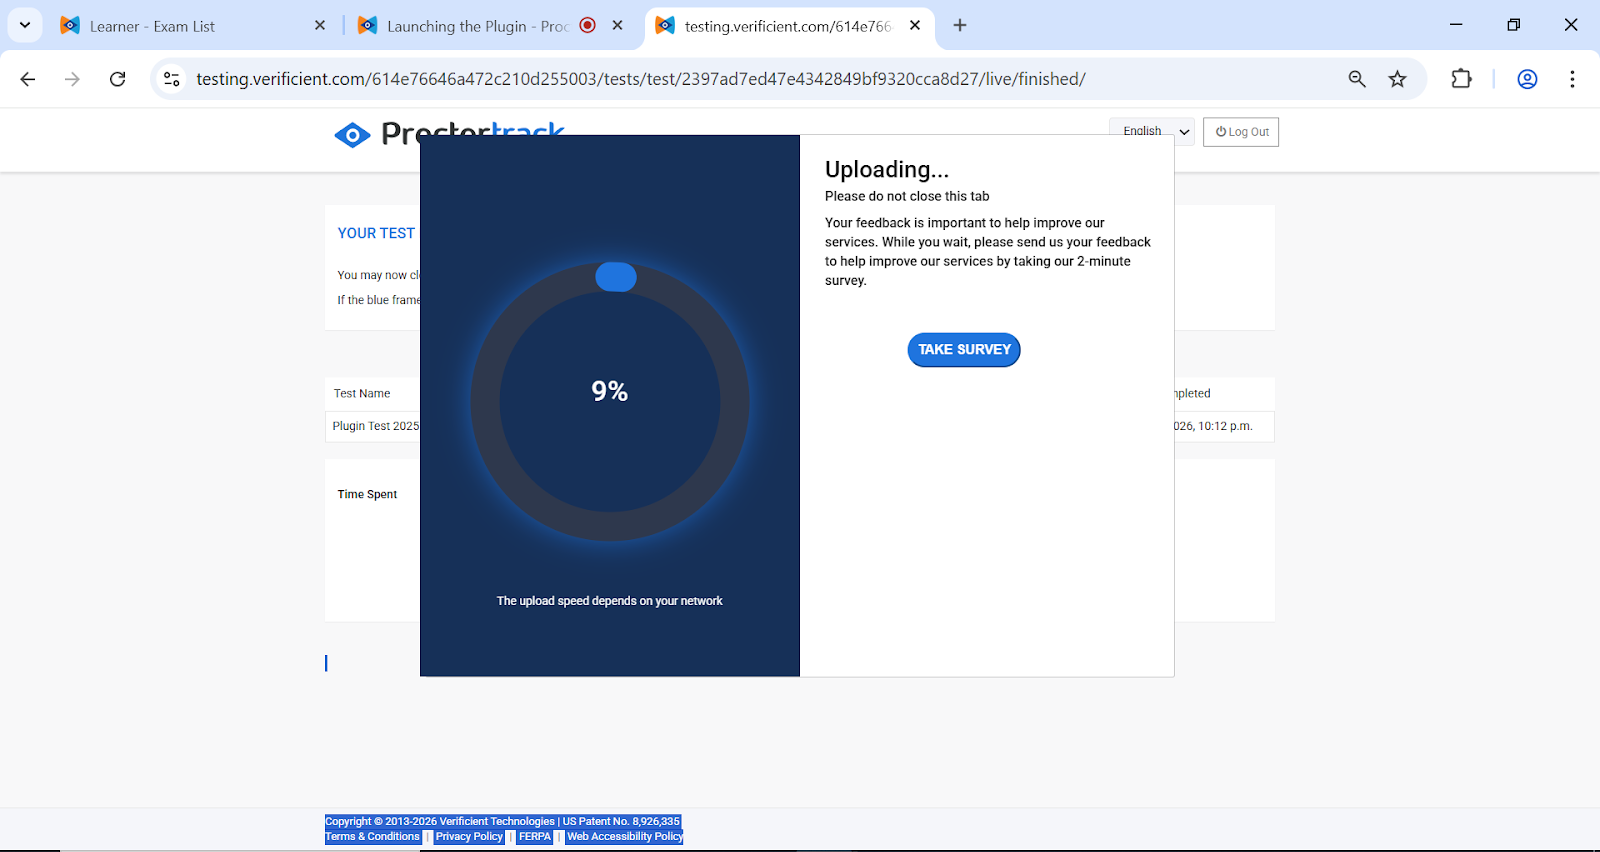
Wait until the progress bar reaches 100% and you see the message "Data Upload Complete".
Click OK or quit the browser.